Article Body
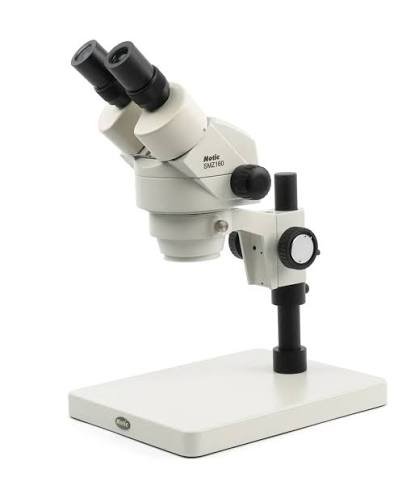
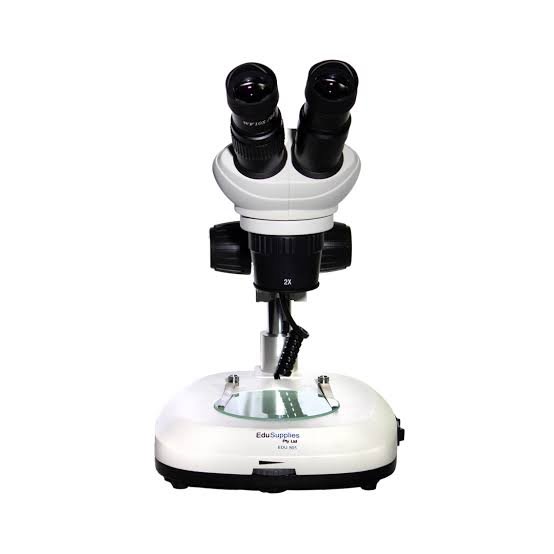
Dissecting microscopes are small-power magnifying tools designed to allow viewing of solid items in three dimensions, rather than thin, flat samples on slides. It’s also referred to as a stereo dissecting microscope, stereo zoom dissecting microscope, or dissection dissecting microscope; all of them refer to the same basic instrument.
The majority of models are magnified between 5x and 80x, and since they utilize two optical paths that are distinct, with one path for each eye, what you view will have real depth. This is the key aspect that sets this dissecting microscope apart from the majority of microscopes that are available.
If you’ve ever attempted to examine an insect, circuit board, or even a tiny gemstone with a standard microscope but found the image flat and unclear, dissecting microscopes solve the issue directly. It offers a truly stereoscopic view, plenty of space for work under it, as well as sufficient magnification that you can see fine detail without losing the overall view.
Why Depth Perception Actually Matters Here?
It’s easy for people to believe that greater magnification is always better; however, that’s not how this instrument functions. The actual benefit of a dissecting microscope isn’t just its power; it’s the ability to observe depth even when your hands are performing some action to the object in front of you.
Imagine a young person separating tissues in a dissection or a technician putting the smallest surface-mounting component on the circuit board. Both require judging depth and distance accurately. The flatness of a 2D image makes it extremely difficult than it ought to be. That’s precisely why dissecting microscopes are separate from the compound ones in the beginning.
Who Actually Uses a Dissecting Microscope?
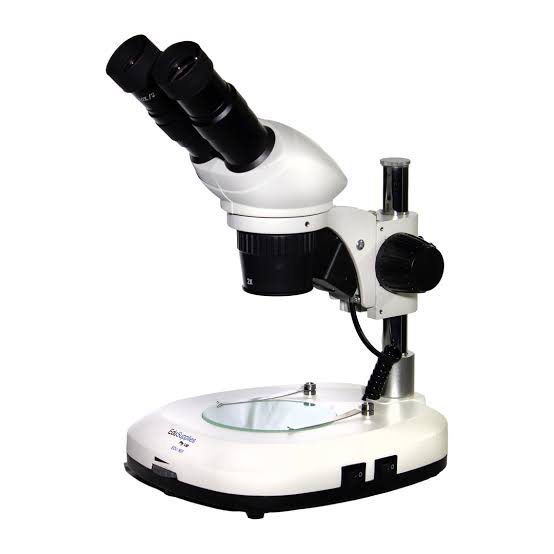
This tool appears everywhere you would expect it to. It is common in:
- Biology labs and classrooms to dissect and analyze specimens like frogs and insects and even plants.
- Repair and manufacturing of electronic devices for soldering rework, as well as circuit board inspection
- Jewelry and watchmaking, for stone setting, engraving checks, and mechanism repair
- Geology and mineralogy, for examining rock and mineral surfaces
- Quality control departments, checking manufactured parts for defects
- Laboratory for forensics investigating the trace evidence of fibers, toolmarks
- Hobbyists, which include stamp graders, coin collectors, and model builders.
The task changes the requirements. A student dissecting a specimen needs a large stage and dual lighting. A technician who is doing SMT soldering requires a large working space so that the soldering iron can fit underneath the lens. Jewelers setting stones require the highest magnification as well as steady stability. The tool fits into similar; however, the ideal configuration is contingent on what you’re using it for.
Dissecting Microscope in contrast to. Compound Microscope
This one is more confusing than anything else in this area. It’s important to be exact regarding the subject.
Feature Dissecting (Stereo) Microscope Compound Microscope
- Magnification Roughly 5x–80x Roughly 40x–1000x+
- Image 3D, stereoscopic Flat, 2D
- Best for Whole, opaque, thick objects Thin, often transparent slides
- Working distance Large inches of space Very small millimeters
- Sample prep Little to none Often requires slicing or staining
If you can pick the object up and hold it, and you actually need to work on it while magnified, you want a dissecting microscope. Suppose you need to see individual cells, bacteria, or subcellular structures; that requires the higher magnification of a compound microscope. No amount of zoom on a stereo microscope will get you there — the two tools are built for genuinely different jobs.
The Main Types of Dissecting Microscopes
- Dissecting microscopes may not be constructed the same way, and the differences are more than the majority of buying guides recommend.
- Fixed-magnification versions provide either one or two zoom levels. They’re not as expensive, they’re simpler and can be used in classrooms in which flexibility can be more crucial than dependability.
- Zoom stereo microscopes let you adjust the magnification continuously over a broad range of magnifications.
- This is more effective in a workshop or lab environment where you’re constantly switching between detail and overview.
There’s also an optical design distinction that rarely gets explained well:
Greenough designs use two separate, angled optical paths and tend to be more affordable, with slightly more distortion toward the edges of the image. CMO (Common Main Objective) designs route both paths through a single large objective lens, producing a sharper, more consistent image — and it’s the design you’ll typically find in higher-end research and industrial units.
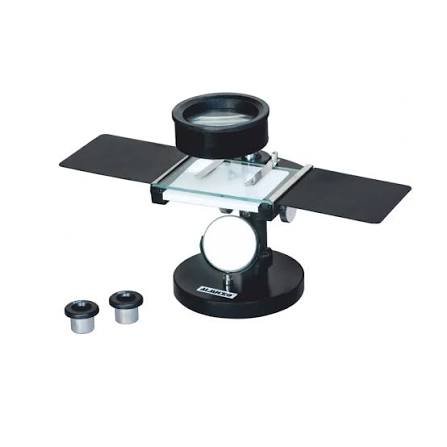
Stand type is another practical decision point:
- Post stands are compact and ideal for repetitive desktop work
- Boom stands extend out over a wider area, useful for large circuit boards or bigger parts
- Articulating arms can be repositioned freely, which manufacturing and forensic labs tend to prefer
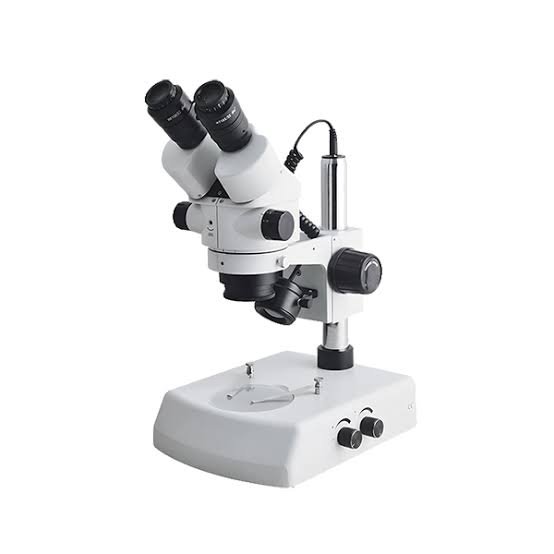
Finally, many modern units especially in professional and lab settings are trinocular, meaning they include a third port for a camera. That’s increasingly the standard where documentation, teaching, or shared screen viewing matters.
What to Actually Check Before You Buy?
Forget the marketing jargon for a moment, and focus on the few specifications that will determine if a microscope is suited to your needs.
Magnification range should match your real use case, not just sound impressive. General dissection and inspection work is usually well covered by 10x–40x. Fine detail work like SMT soldering or jewelry setting often benefits from 20x–80x. If you only need a general overview of larger objects, even 5x–20x can be enough.
Working distance is the specification most people underestimate until it’s too late. If you plan to use tools underneath the lens a scalpel, tweezers, a soldering iron you need enough physical clearance for your hands and instruments to move freely. This is the most frequently cited reason why people become frustrated by an instrument that appears good on paper.
The type of illumination is more important than it appears.
Incident (top-down) lighting works for opaque objects like insects or circuit boards. Transmitted (bottom-up) lighting is for translucent samples. Some tasks genuinely need both, so check what’s included before assuming.
Stand type and documentation needs round out the decision pick based on your workspace size and whether you’ll need to record or present what you’re viewing.
A Simple Way to Decide
If you’re not sure where to start, work through it in this order:
- Confirm your specimens are whole and opaque if so, you’re in the right category
- Decide how much magnification your actual task requires, not the maximum available
- Check whether you need working distance for hand tools
- Pick a stand type that fits your physical workspace
- Decide if documentation or camera output matters to you
- Match your budget to how often you’ll actually use it
Occasional or educational use rarely justifies a research-grade unit. Daily professional or industrial use usually does.
What You Can Expect to Pay?
Pricing varies significantly by brand, configuration, and region, but general market positioning looks roughly like this (Source: Industry Market Data, 2025–2026):
Category and Price Range (typical) for
Fixed Magnification ($60 to $200); Midrange Zoom Stereos ($200-$600); Professional Zoom Stereos (660$ to $2k$) (610 – 2, 000); Research Grade with Camera/Trinocular ($2,000+ to $8K+); Industrial Boom or Articulating Arm Systems ($ 1,500-6,000+).
Local science supply stores typically cost more than online stores;
however, that extra cost can sometimes mean quicker warranty services and hands-on testing prior to purchase. It’s worth taking into consideration if you want an ongoing, reliable support system rather than simply the lowest price.
How to Use One Correctly?
- Achieving good results with the dissecting microscope is down to a simple, repeatable process:
- Place the microscope on a flat surface far from any vibration
- The object must be placed on the center in the center of your stage. Pick a black or white background to create the best contrast
- Change the angle of your eyepiece so that you blend both images into a circular form.
- Adjust the diopter setting of one eyepiece in order to take into account any differences between the eyes of your
- Choose the correct lighting incident for opaque objects, transmitted for translucent ones
- Start at the lowest magnification and focus using the coarse adjustment
- Increase magnification gradually, refining focus at each step
- Work with your tools inside the available working distance as needed
Common Mistakes Worth Avoiding
A few mistakes are discovered repeatedly, even among the most experienced users:
- Adjusting diopters and eyepieces without a proper setup can cause eye strain as well as a doubled image
- Using the wrong lighting type for the specimen, which kills contrast
- Jumping straight to maximum magnification instead of starting low and working up
- Cleaning lenses with the wrong materials always use proper optical wipes, never cloth or tissue
- Underestimating how much working distance a task genuinely requires
Keeping It in Good Condition
A little routine care extends the life of the optics significantly. Keep the unit covered when it’s not in use, clean lenses only with a blower brush and lens-appropriate solution, and store it somewhere dry to avoid fungal growth inside the optics over time. Lab and industrial units under daily use benefit from an annual professional check.
If a Dissecting Microscope Isn’t the Right Fit
Sometimes another tool makes more sense. A compound microscope is the right call for cellular or microorganism study. A digital USB Microscope provides a low-cost alternative that is screen-based, without traditional eyepieces. A basic magnifying loupe is perfect to conduct quick, low-magnification tests. And a macro lens paired with a camera is a better fit if documentation and photography are the actual goal rather than live inspection.
FAQs
What is a dissecting microscope utilized to study?
It is used to analyze and work with three-dimensional, transparent objects such as circuit boards, bugs, and minerals that possess real depth perception and not flat images.
Is a dissecting magnifier identical to a stereo microscope?
Yes. Both terms refer to the same instrument; “dissecting” reflects one typical use for the instrument.
Can you see cells with a dissecting microscope?
No. Cells and subcellular structures require the higher magnification of a compound microscope. Dissecting microscopes are built for low-power, whole-object viewing.
What magnification is best for dissection work?
Most general dissection and inspection tasks fall comfortably in the 10x–40x range, though this can shift depending on specimen size.
Can a dissecting microscope be used for soldering?
Yes, and it’s a common use case in electronics repair — as long as the model has enough working distance for a soldering iron to fit comfortably underneath the lens.
What’s the minimum working distance needed for jewelry work?
There’s no set number. Jewelers usually require greater clearance than class dissections, because hands and tools have to move quickly around pieces of smaller size.
Dissecting microscopes have camera ports?
Many professional and laboratory-grade models do. They use a trinocular lens that has an additional camera port to allow recording or live-screen display.
Are dissecting microscopes suitable for children?
Entry-level fixed-magnification models are usually suitable for younger users since they’re easier to operate and less expensive to replace in the event that there’s a problem.
What is the price of dissecting microscopes?
The basic models for classrooms start as low as $60 to $200. Zoom models in the middle vary from $200 to $600. Professional models, or models that are research grade, start at $600 and go up, or even higher.
Conclusion
Dissecting microscopes earn their spot whenever you need to study or actively work on the whole, opaque object instead of an extremely thin slide. The choice is really down to two factors: the amount of magnification your task really demands, and if you have sufficient working distance for the equipment that you’ll use beneath the lens.
Make sure the stand is a good fit for your space, and establish an amount of money based on the frequency you’ll make use of it. You’ll have the right microscope for your job, not one that is just beautiful on a specification sheet.
These information about Projector Mount are gathered from different surveys, medical tests and tech giants like Techradar and more. Our top priority is to provide you valuable information.
For More Details About Different Microscope Click Here